


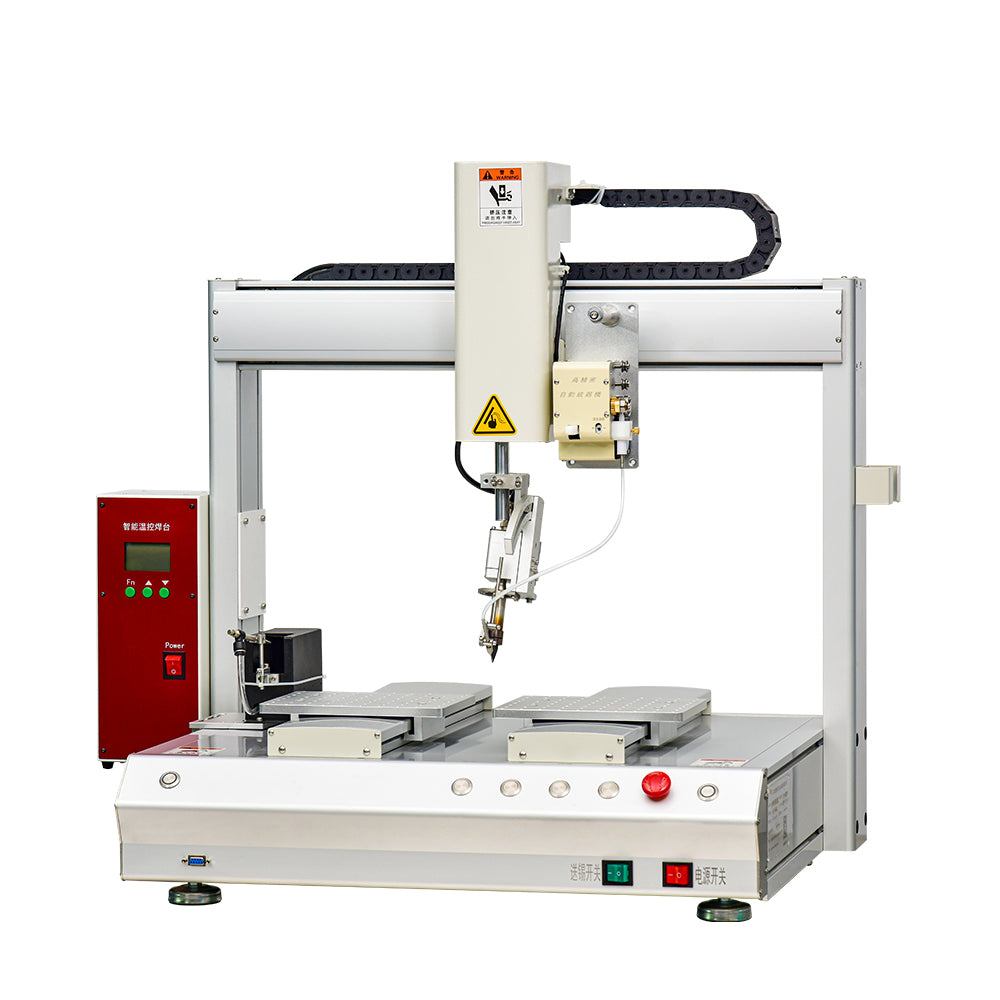
Semi-automatic soldering machinesoldering robot
Semi-automatic soldering machinesoldering robot
Couldn't load pickup availability
Price consultation customer service
375A+(Step out the tin line with your foot)
List of parts:
Host *1
Hand grip *1
pedal switch*1
Power cord*1
qualified *1
Hand grip bracket*1
Tin wire axis*1
Metal disk*1
Screwdriver + Wrench*1
description book *1
packing box*1
375B+ (Step out the tin line with your foot)
List of parts:
Main engine handle+Tin tube tube*1
Tin wire axis*1
pedal switch*1
Power cord*1
Hand grip bracket*1
Metal disk*1
Screwdriver + Wrench*1
description book *1
Tin outlet *1
qualified *1
packing box*1
375C+( press the button Tin wire coming out orStep out the tin line with your foot)
List of parts:
Host *1
Hand grip bracket*1
Main engine handle+Tin tube tube*1
Tin wire axis*1
Metal disk*1
Tin outlet *1
Screwdriver + Wrench*1
description book *1
packing box*1
qualified *1
375D+ ( press the button Tin wire coming out or Step out the tin line with your foot)
List of parts:
Host *1
Hand grip bracket*1
Power cord*1
Tin wire axis*1
packing box*1
pedal switch*1
qualified *1
Hand grip bracket*1
description book *1
give
Metal disk*1
Screwdriver + Wrench*1
Tin outlet *1
- Loosen the screws until they fit into the handle support and tighten the screws
- Loosen the top two nuts at the same time
- Place the end of the handle into the middle of the support
- Install the tin wire support, put one end of the tin wire in an appropriate position, but not completely loose. Push from the bottom up until the appropriate position into the tin hole and tighten the two nuts at the same time
- Pull open the adjusting rod of the tin feeding device with one hand and push the solder wire into it with the other hand until the solder wire is exposed
- Loosen the screws at the handle, foot switch and front end of the device with the complimentary screwdriver, push in the power cord of the tin feeding conduit, turn on the power switch to energize it to the innermost part and tighten the screws
- Connect the handle, foot switch and power cable, and turn on the power switch to power on
- Press the hand to adjust the tin speed to "9". Press the foot switch and do not let go until the solder wire is sent to the vicinity of the iron head
Intelligent automatic tin feeding platform
ress the button Tin wire coming out or foot pedal out the tin wir
- Heading
- Heading
- Heading


Collections
-

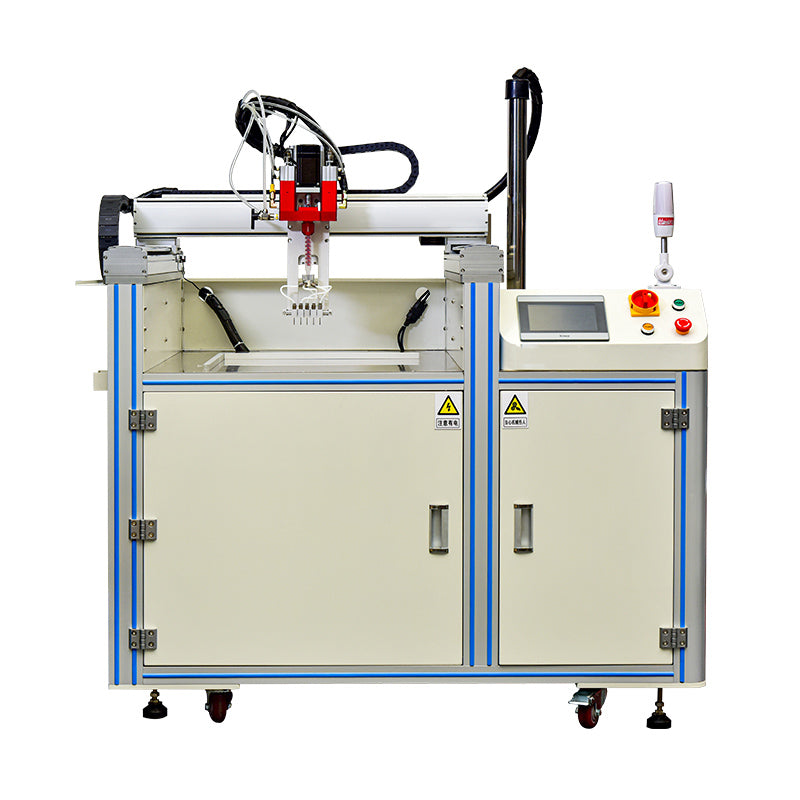
Automatic dispensing machine
Automatic dispensing machine is a kind of professional equipment instead of manual...
-
Screws tightening machine
Automatic screwdriver equipment to use a one-time all the screws to play....
-
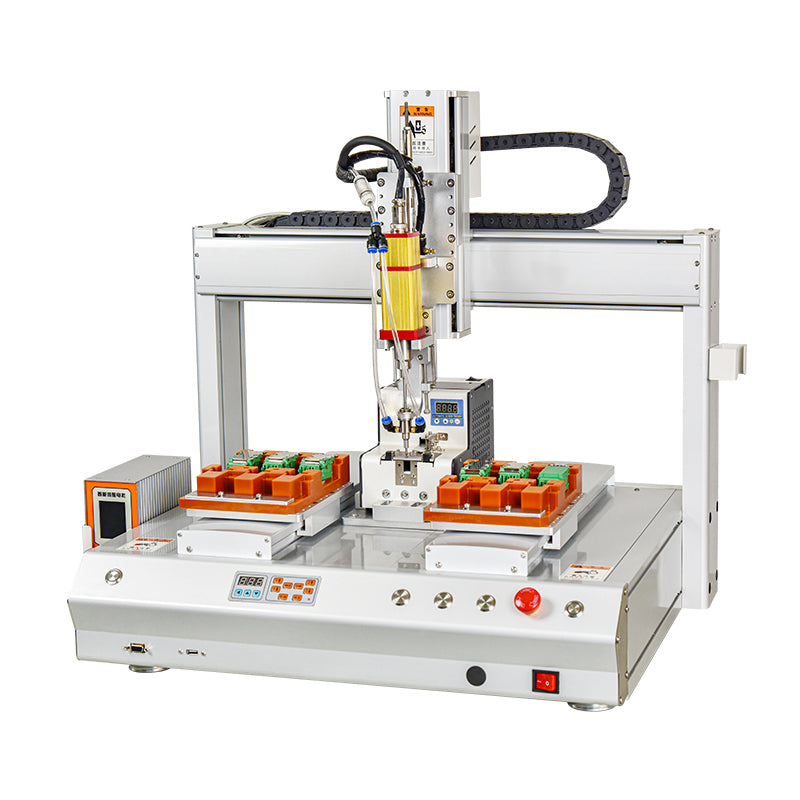
soldering robot
Automatic soldering machine is a kind of automatic soldering equipment, which is...
-
Automatic AB glue filling machine
Automatic Potting machine, AB Potting machine, epoxy Potting, PCB Potting,


